You taped the balloon arch to the doorway because the shop photo looked perfect, and now the buffet line has nowhere to stand. Someone is already asking where the restrooms are, and the arch is eating the only clear path to the exit. That is the usual start of birthday party venue decoration when the pretty piece goes up before the room has a plan.
Treat the room as a guest-flow and comfort system first. Placement and safety outrank décor volume. A restrained layout with one strong focal point beats a room stuffed with accents nobody can walk past. I would start by drawing the route, then hang anything overhead, then set the small pieces last.
The working order below covers three installation passes, mixed-age checks, lighting you can measure, a spend order that doesn't decorate every square foot, a walkthrough before you pay for installs, and a timeline that ends with a written record of clearances and lighting scenes.
Table of Contents
- Install in Three Passes Around Guest Flow
- Guest-Friendly Details for Mixed Ages and Needs
- Lighting Levels That Make Décor Visible
- Choosing Focal Points and Where Your Budget Goes
- Book a Walkthrough Before You Lock the Décor Plan
- Decoration Timeline From Plan to Teardown
Install in Three Passes Around Guest Flow
You hung the balloon arch first. The buffet queue now stacks into the doorway, and the arch clips the exit. Undo that order before you buy another garland.
Birthday party venue decoration works in three passes, and the order is the method. The ADA planning guide for temporary events warns against objects protruding from walls or posts and décor hanging into circulation paths. That warning is why the route gets mapped before anything is tied off.
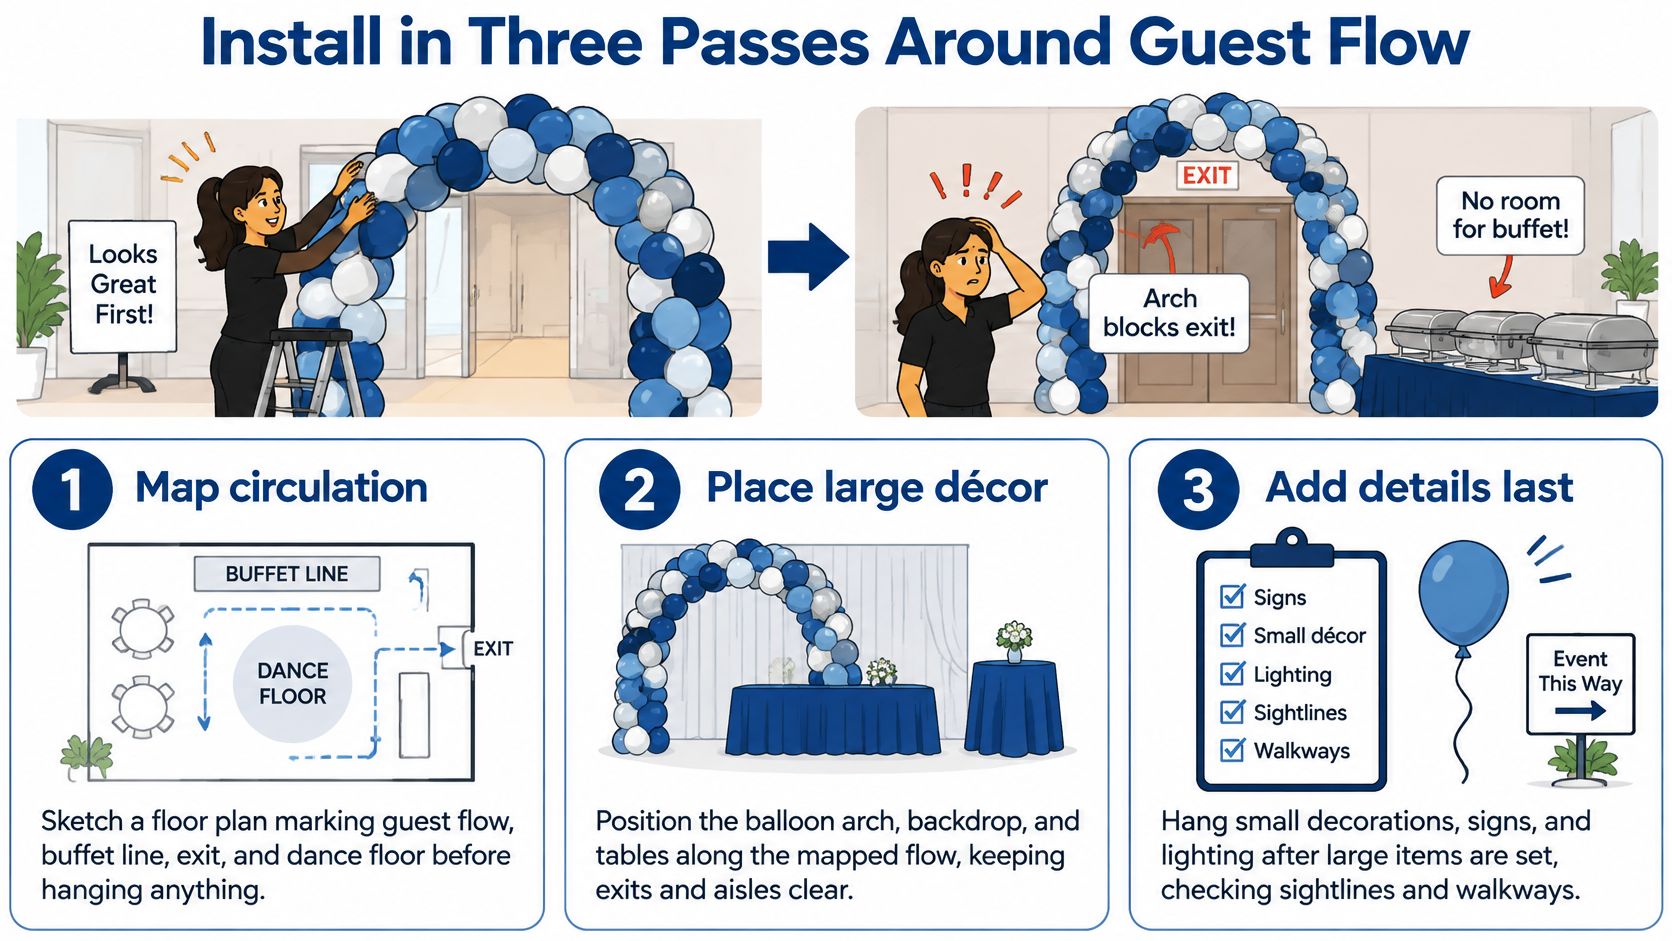
Map, hang, then finish
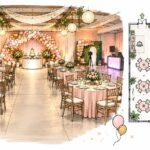
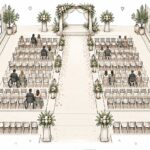
Map circulation. Sketch a scaled floor plan. Mark entrances, buffet and beverage points, cake or gift tables, photo areas, dance space, and emergency egress. If you already have a published hall drawing, start from a venue floor plan and mark guest flow on top of it instead of guessing aisle widths from memory. For an outdoor stretch, a backyard ai design layout can show where a path meets a lawn before you commit weights and stakes.
Install overhead and wall décor. Balloon garlands, backdrops, and banners go on walls or fixed points, never over a walkway. The common slip is hanging décor before the route is checked. A pretty arch then becomes a head-height obstacle.
Place low-level centerpieces and finishing details last. Do this after tables and chairs are set and the route is measured. Centerpieces that go down early get shoved into aisles when chairs land.
Keep at least 48 inches of clear route around the setup where you can, then verify it after tables, balloons, signs, cords, and queue lines are in. A continuous, smooth, obstruction-free accessible route is the standard, not a style choice.
Where each piece belongs
The entrance stays free of arches. Buffet queue lines stay off the main route. The cake or gift table sits beside focal light and out of the walkway. The photo backdrop goes against a wall, not in the path between the hall, restrooms, bar, and exits. The dance floor stays away from exits and restroom routes. Emergency egress is never blocked by balloons, cords, or signs.
| Zone | Placement rule | Clearance target |
|---|---|---|
| Entrance | Keep the opening free of arches or hanging décor | 48 inches clear |
| Buffet and beverage | Queue lines stay off the main route | 48 inches clear around setup |
| Cake or gift table | Sit beside focal light, out of the walkway | 48 inches clear |
| Photo area | Backdrop against a wall, not in a path | 48 inches clear beside the backdrop |
| Dance floor | Away from exits and restroom routes | 48 inches clear to the nearest exit |
| Emergency egress | Never blocked by balloons, cords or signs | Verified after each reset |
Name the failures while you can still move them. Dangling garlands at head height, unsecured weighted stands, and décor that blocks accessible seating or service access are the usual ones. A visually attractive arch that narrows egress width fails even if the photos look good.
Three inspections with a tape
Photograph each check and write the measured clearances. Do it after major installation, immediately before guests arrive, and after any room reset. Visual judgment is how arches creep back into the aisle.
Practical rule: If you can't walk the route with a tape and write the number down, the arch is not finished.
Guest-Friendly Details for Mixed Ages and Needs
A grandparent's walker and a toddler's balloon are now competing for the same narrow aisle. The balloon wins, the walker stops, and the party feels smaller than the guest list. More decoration is what caused it. Glare, clutter, and trip hazards cut comfort faster than a bare wall ever will.
Recent trend reporting from Paper Art claims that approximately 65% of consumers prefer eco-friendly party supplies for birthday celebrations. Cutting waste is a guest-facing choice, not only a cleanup choice. Rent or reuse the large pieces, especially backdrops and arches. For outdoor Hill Country air, pick materials that hold up to wind and sun, and weight every freestanding piece.
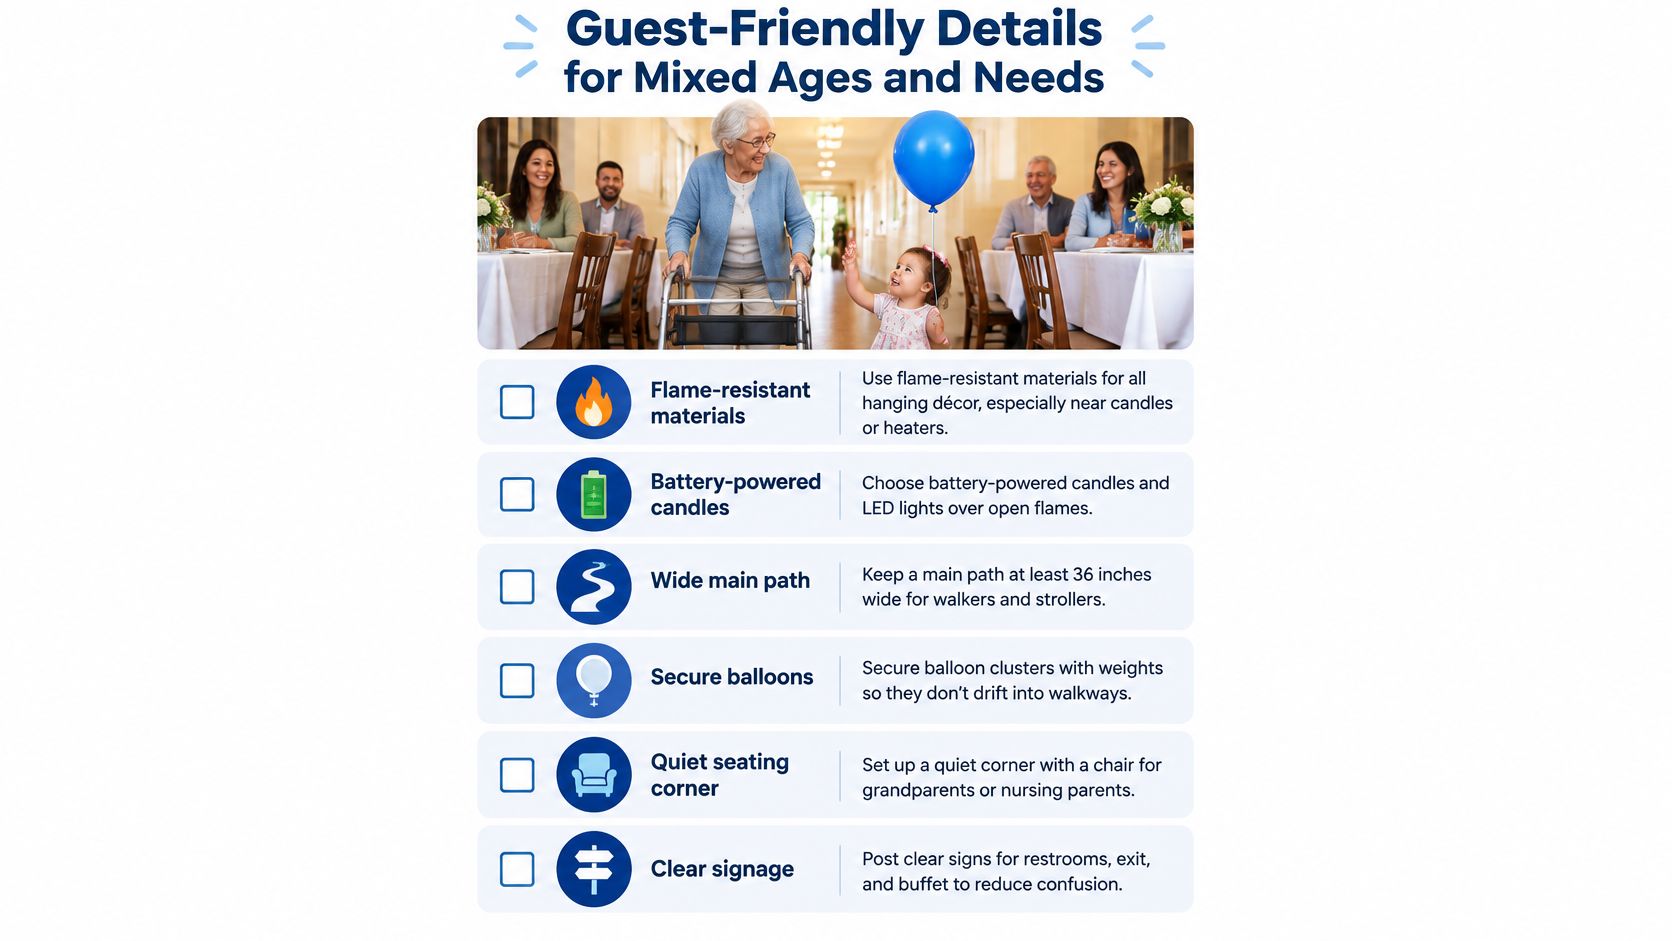
A checklist you can walk
- Flame-resistant materials: Use them for every hanging piece, especially near heaters.
- Weighted outdoor pieces: Anchor arches and signs so a gust doesn't send them into a path.
- Cable management: Tape floor runs flat, and keep cords off the step-free route.
- Readable signage: Place restroom, exit, and buffet signs at seated eye level.
- A quiet zone: Put it away from the speakers for older adults, nursing parents, and guests who need less stimulation.
- A disposal plan: Sort rentals, reusables, and trash before the last song, not after the lights come up.
Paper confetti, glitter, unprotected candles, silk flower petals, and sand are strictly prohibited for decorating. Skip them even if a theme board loves the sparkle. For a send-off, bubbles and birdseed are permitted, and both leave a path someone can still walk.
If the whole crowd can't share one tight room, look at indoor birthday venues for mixed ages when a smaller group needs a contained activity away from the main hall. Then bring everyone back to a room that still has a clear aisle.
Walk the finished room with a guest who uses a mobility aid and with a child. Fix anything that slows either one. If the walker pauses or the child has to duck, the décor is still too much.
Lighting Levels That Make Décor Visible
Divide the room into ambient, task, accent, and circulation zones before you pick a color wash. Then program scenes for arrival, food service, cake or speeches, and dancing. Décor only works if faces, food, and the route stay readable.
A practical benchmark reported by Homestyler for event environments is approximately 100–300 lux for dining or social activity, 300–500 lux for focal areas such as a cake table or stage, and at least 50 lux along circulation paths.
| Zone | Lux target | Color temperature | Notes |
|---|---|---|---|
| Dining and social | 100–300 lux | 2700–3000 K | Warm white with CRI 90 or higher |
| Cake, gift or stage focal | 300–500 lux | Neutral white | Brighter, neutral light to show detail |
| Circulation paths | At least 50 lux | Warm white, shielded | Shielded fixtures with no glare on routes |
Why the color of the light matters
Social zones want warm-white light around 2700–3000 K, with high-CRI fixtures of 90 or higher where you can get them. Skin tones, food, balloons, and branded colors then photograph closer to what guests see. Put the brighter, neutral light on the cake, gift table, buffet, and registration. Drop to lower, warmer light in the dance or lounge zone, but don't let pathways turn visually ambiguous.
Add diffusion or shielding so uplights don't hit eyes. Secure uplights and cables to the floor. Test from seated eye level before guests arrive, once in afternoon daylight and again after sunset. The same rig can look dim at 4 p.m. and harsh once the sun drops.
The common pitfall is a saturated color wash that hides faces and makes food service unsafe. Pretty magenta on a backdrop is fine. Magenta across the buffet is not.
Write down fixture positions, brightness scenes, color temperature, cable routes, and backup-battery needs. That sheet is what lets the next event start from a known setup instead of a memory.
A room that looks dramatic in a phone photo and unsafe at the carving station has the wrong scene on.
Choosing Focal Points and Where Your Budget Goes
A 2025 Peerspace survey of 1,000 adults found that 21.5% regretted not spending more on decorations, 17.9% regretted overspending, and 22.3% intentionally reduced or skipped décor altogether. The useful question isn't which décor is trending. It's which pieces guests notice once food, drinks, and the band are in the room.
I would rather fund one memorable focal point than decorate every square foot. A restrained, experience-led room often beats a heavily dressed one when guests came to eat, talk, and dance.
| Element | Guest impact | Spend priority |
|---|---|---|
| Entrance installation | High | Spend first |
| Cake or dessert display | High | Spend first |
| Coordinated table settings | High | Spend second |
| One photo area | High | Spend second |
| Scattered small accents | Low | Spend last |
Match the focal point to the party
An adult birthday usually wants a bar or lounge focal point, not a ceiling full of balloons. A children's party can live on one bold color scheme and a single balloon display. A quinceañera needs an entrance treatment and a stage backdrop. A milestone or retirement party does better with a memento display and one clear photo spot. Scattered mini accents are what guests walk past without a second look.
For ideas on how one wall can carry a whole reception look, browse these reception hall decoration ideas and steal the restraint, not the wedding palette. If you're still sorting what to buy versus rent, ZOVB SG party planning advice is a useful pass before you fill a cart with pieces nobody will stand in front of.
Say you're dressing a 300-guest room. Put the money on one focal wall, an entrance installation or a photo backdrop, and one dining feature, the cake or dessert display with coordinated settings on the nearest tables. Leave the far walls mostly clear. Guests will remember the wall they walked toward and the table they ate from. They won't remember the twentieth cluster of small balloons over a side aisle.
Book a Walkthrough Before You Lock the Décor Plan
Ordering the arch before you've stood in the room is how installs get refused on the day. Bring the scaled floor plan, the lighting scene list, and the photo-zone sketch to a walkthrough, and do it before you pay a decorator.
Prospective clients can request a personal tour. Use it. Stand in the planned photo area. Walk the actual doors with a tape and compare what you feel underfoot with what the sketch promised. Each rental includes an on-site venue manager, and that person can confirm where installations are allowed and which items are prohibited. Hosts can choose their own vendors and customize the day and décor, so build the plan around the caterer and florist you've already picked instead of a generic package.
Questions worth asking on site
- Attachment points: Where can balloons and backdrops be tied, and which walls are off limits?
- Outdoor weights: Which pieces must be weighted, and where can stakes not go?
- Tear-down: How are clean-up and removal handled, and what has to be out before you leave?
- Sunset light: What do the programmed scenes look like once the Hill Country sun drops?
A written final walkthrough checklist keeps those answers from living only in a text thread. If a vendor's render puts an arch across a door the manager just flagged, change the render. Don't argue with the door.
Confirm the room, mark the clearances on the plan, then order the décor.
Decoration Timeline From Plan to Teardown
Lock the sequence to the calendar so the passes don't collapse into one frantic afternoon.
One week before, confirm what the walkthrough changed. Order rented backdrops and arches. Send the scaled plan and the lighting scene list to the on-site venue manager so attachment points and prohibited items are already agreed.
Two days before, schedule the lighting test from seated eye level and look at the room in afternoon daylight. Note anything that will need a different scene after dark.
On the day, run the three passes in order. Finish with the pre-arrival inspection, photos, and written clearances. During the party, give one helper the job of checking egress and cords after each reset, including after cake service and any time tables move.
After the event, unhook overhead pieces first. Collect weights and cords. Sort reusable backdrops for rental return or storage. Send disposables down the disposal route you already planned. Save fixture positions, scene settings, and cable routes with the photo log.
That packet is the reproducible record. The next birthday starts from measured clearances and known lighting scenes, not from a guess about where the arch used to sit.
Texas Old Town gives birthday hosts private halls and outdoor sites on a Hill Country property in Kyle, with room to plan décor around real guest flow instead of a rushed setup window. You can tour the space, confirm where installations belong, and build a decoration plan that keeps paths clear for mixed-age guests. Visit Texas Old Town to request a tour and walk the room before you order a single backdrop.